Top food blogs

Translate

Showing posts with label Make-Ahead. Show all posts

Tuesday, May 27, 2014

Cream Cheese Apple Cake

Cream Cheese Apple Cake
Oven Temperature: 350 Degrees
Prep. Time: 30 Minutes
Cook Time:  1 Hour 15 Minutes
Total Time: 1 Hour 45 Minutes
There was a time when I was younger that I absolutely adored apples. I would have at least one apple every day. Then again, I would always have some sort of caramel chocolate with it. After all, who doesn't like the stellar combo of apples and caramel? Now that I'm older, I find that I have to actually crave an apple. Yes, I have weird random cravings. Lately, those random cravings have been showing up a lot more often. I was craving apples, but not in a typical Apple Pie. Of course, I just had to find a recipe that had apples, and it was a must that I bake something. You see, finding a recipe is usually what takes me forever. Believe it or not, the actual baking takes less time. Maybe it's because I'm OCD and like to obsess over researching every aspect and reading every comment. It takes a lot for me to actually try a recipe. I finally found one that satisfied me on One Perfect Bite. This blog is truly amazing. I don't link to original recipes often, but this is definitely a blog you should check out. Such thought and time are put into each and every recipe and post, it's definitely worth the time. Anyways, I read and re read the recipe and went over every detail. Then I got to work. The results, stellar. Absolutely phenomenal. Impeccable.
This apple cake is just one of a kind. The cake itself is slightly dense with the perfect crumb to it. It's moist and velvety and the apples add a beautifully soft bite. You get the slight hint of cinnamon and the richness from the cream cheese. This cake just has the most amazing texture. Try it out. It does take a little extra prep time, but the result is definitely worth it.

Ingredients:

3 Cups All-Purpose Flour
1 1/2 tsp Baking Powder
1 tsp Salt
1 tsp Cinnamon
1 Cup Butter (Softened)
12 oz. Cream Cheese (Softened)
2 1/2 Cups Granulated Sugar
4 Eggs
1 tsp Vanilla
1 1/4 lbs. Apples (Peeled and Diced)
Powdered Sugar

Directions:
Preheat oven to 350 degrees. Grease and lightly flour two (9 x 5 x 2-inch) loaf pans or a 10 Cup Tube Pan. Sift the flour, baking powder, salt, and cinnamon together. Set aside.
Put butter, cream cheese, and sugar in the bowl of a stand mixer fitted with a paddle attachment. Beat ingredients on medium-high speed until mixture is very light in color (almost white) and texture is fluffy, about 6 to 8 minutes. Scrape sides and bottom of the bowl once during the process to insure that butter is evenly incorporated. Crack eggs into a liquid measure and add vanilla. With mixer on low speed, slowly pour mixture into bowl allowing eggs to fall in one at a time. Scrape bottom and sides of bowl. Add sifted dry ingredients on low speed; stop mixing as soon as flour is incorporated. Fold apples in by hand using a stiff spatula and scrape batter into prepared pan. Place pans in the middle of the oven and bake 60-75 minutes rotating pans halfway through baking time. When cake is finished, a wooden skewer inserted in the middle should come out clean. Allow cakes to cool 15 minutes before removing from pan. Cool completely and cover with a thick dusting of powdered sugar.

Friday, March 14, 2014

Cheesecake Squares

Cheesecake Squares
Oven Temperature: 325 Degrees
Prep. Time: 20 Minutes
Cook Time: 40 Minutes
Total Time: 1 Hour
I LOVE cheesecake. As a kid, I always thought it was gross. I mean, come on, who puts cheese in cake? Us Arabs eat cheese for breakfast. But as you all know, I am super easy going when it comes to trying new food. That's how I came to love cheesecake.
When I was younger, I didn't have many friends. Personally, I preferred to do my own thing. Give me a good book and some yummy food and I could keep myself entertained for hours. Rarely did I have friends over, but when I did, it was my friend Iman. Of course, she would be bring the whole family with her (because we all come in 6 packs). Of course she would also bring some sort of dessert with her. One night, she came over and brought a strawberry swirl cheesecake with her. Nur, meet Cheesecake, Cheesecake, meet Nur.
How had I not had cheesecake before? I mean my mom's favorite restaurant (by favorite, I mean the only one she'll go to) is The Cheesecake Factory. Their specialty is cheesecake, and yet I had never tried it before. This introduction was truly a pleasure. I took one bite, and I was hooked. This wasn't even a gourmet cheesecake, it was just a plain 'ole bakery one. At that moment I knew that I had to make a cheesecake. I just had to.
Of course, my motivated eager self got up the next morning and started the journey to a cheesecake. Forget the fact that I had never seen a cheesecake pan before. I had my mom buy me all the stuff and I got to work. That cheesecake. Oh. My. God. It was horrible. Yes, horrible. Everything worked out fine, but I baked the life out of it. It was not a cheesecake, it was a hard block of cheese. I actually waited until a toothpick came out clean. And if that wasn't enough, I let it cool in the oven. Because I hadn't already dried the life out of it. Let's just say, since that day I could not look at a cheesecake again. I had nightmares. I buried myself in a hole and refused to come out. Okay, so I am a little dramatic. I didn't do that. But, I also never attempted a cheesecake again. Until now. I am proud to say that I am proud of this cheesecake. This was truly an achievement, and I would like to share it with all of you.
This cheesecake is truly a masterpiece. The crust is beautifully sandy. The graham crackers are perfectly fine with a nice coating of smooth butter. You get the hint of honey from the graham crackers, and the perfect richness from the butter. The crust is so perfectly proportioned with the amount of cheese filling. The filling is smooth, creamy, and perfectly cheesy. The decadence of the pure vanilla cuts through the heaviness of the cream cheese. The slight amount of sugar balances with the sour cream to achieve the perfect amount of sweetness. Top these little squares with any topping you want, and you have a whole new flavor profile. These squares are the perfect canvas for creativity. You can not get enough of these. Cut them small. You won't feel as bad eating the whole tray. Trust me. I know.

Ingredients:

Graham Cracker Crust
2 heaping Cups Graham Cracker Crumbs
3 tbsp Sugar
1/2 tsp Cinnamon (Optional)
3/4 Cup Butter (Melted)

Cheesecake Filling
3  8-oz. Packages Cream Cheese (Softened)
1 Cup Sugar
3 tbsp Flour
2 tsp Vanilla Extract
3 Eggs (Slightly Beaten)
16 oz. Sour Cream

Directions:
Preheat the oven to 325 degrees. Line the bottom of a 13x9 pan with parchment paper. Don't skip this. You may be tempted not to, but this will make your life easy. Do it.
Combine the graham cracker crumbs, sugar, cinnamon, and butter in a bowl. Mix until everything is evenly coated, and press into the bottom of the lined pan. Bake for 12-15 minutes, while you prepare the filling.
To prepare the filling, beat the cream cheese until smooth. Add the sour cream, vanilla, sugar, and flour. Mix well. Stir in the eggs. Don't over mix you batter. The crust should be ready by now. Take it out, and evenly pour the filling on top of it. Bake for about 40 minutes. Now here is what you need to do. Make sure that the cheesecake is till jiggly when you take it out. The cheesecake should also NOT be browned at all. As the cheesecake sets, the jiggle will go away. It's like Jello. Use your best judgment, but these 40 minutes should be just about perfect for this consistency. Start checking on it at the 34 minute mark and you should be okay. You can do this. I promise.
Once it's ready, cool it completely at room temperature. After that, wrap it up and put it in the fridge overnight. When you're ready to slice it, just pull it out using the wax paper as handles (I told you not to skip this step). It should come out cleanly. Slice it up and top it. Or you can just leave it plain. Now, eat it. Because, that's what I did. To all of it. 

Tuesday, October 22, 2013

Molten Lava Cakes . . . YUM!

Molten Lava Cakes
Oven Temperature: 400 Degrees
Prep. Time: 15 minutes
Cook Time: 11-14 minutes
Total:  26-29 minutes
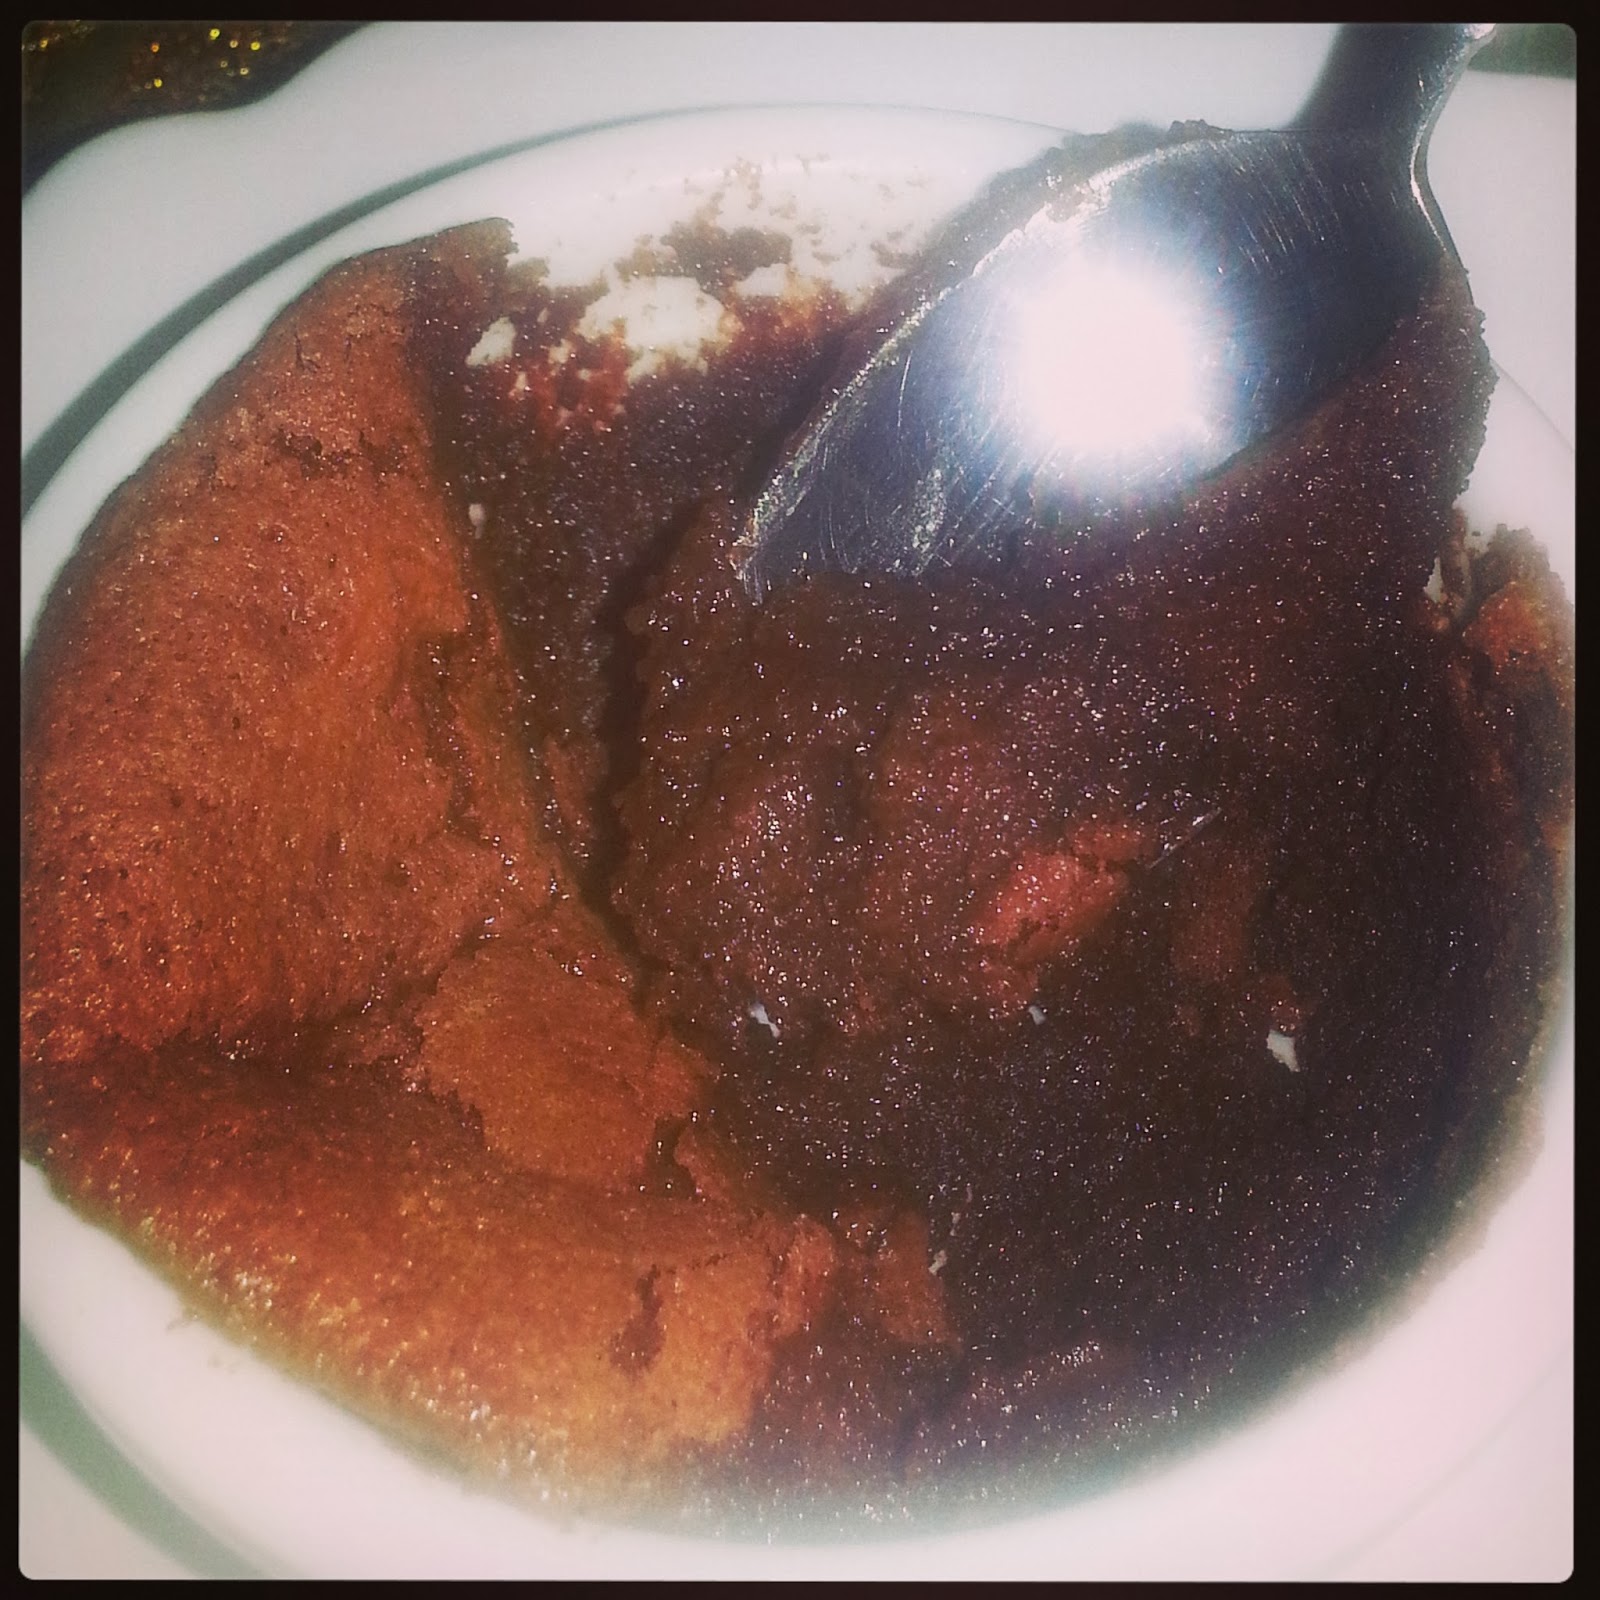
I cannot believe that I have yet to post a Lava Cake recipe. I am still shocked that I have not posted this amazingly easy recipe. Oh MY GOD! As you all know, I have a really bad chocolate addiction. This is the one cake that will completely satisfy that craving. A few years back, I went to Chili's. For dessert, I ordered a Molten Chocolate Cake. Little did I know that the minute I dug my spoon into this warm chocolate cake, it would pour out a river of warm chocolate gooeyness. That is the minute my life changed. I never knew that so many amazing flavors and textures could be held in this small little cake. My life had been corrupted forever. I NEEDED to know how to  make this cake. I just had to know. I spend days and days researching a molten cake recipe with consistently failed results. Either the whole cake would be too firm, or way too runny. Finally, I came across an amazing website with an AMAZING recipe. I was also able to watch a video with specific directions on how to make this cake. I made it once, and I was hooked. This is by far the best cake I have ever made. You will make it, and you will fall in love. Make it for someone you love, because I guarantee you a marriage proposal when you do. It's THAT GOOD!
This cake is brownie like on the outside. DId your spoon into this perfectly crispy exterior, and you will be greeted with a fluffy whipped mousse like chocolatey interior. It will be perfectly plump, amazingly light, and delectably rich in chocolate, with the absolute perfect amount of sweetness. Plop some whipped cream or Ice Cream on the top, and you have got a sinfully forbidden dessert. Try this cake. You will love it just as much as I do, if not more. Like I said, It's THAT GOOD.

Here are a few tips to making this cake:
  • When melting the chocolate, use a double boiler to prevent burning it.
  • Make sure that when you separate the egg yolks from the whites, to not get ANY yolk in the whites, or they will not whip correctly! Here is a great video on how to separate eggs. 
  • If you don't have Cream of Tartar, you can use a dash of salt instead. Don't go grocery shopping just to get it!
  • When beating the egg yolks with the sugar, I found that a paddle attachment works better, but you can use a whisk, however, ALWAY use a whisk to beat the egg whites.
  • Before beating the egg whites, make sure you bowl is CLEAN and VERY DRY. Also, put it in the freezer for a few minutes before using it. A warm bowl will NOT allow your whites to expand correctly. 
  • In order to allow your whites to expand correctly, beat them on medium speed till foamy, then add the Cream of Tartar or Salt. After that, beat them on medium speed till soft peaks form, and the add the sugar VERY slowly as beating, until Stiff peaks form. If you over beat the eggs, they will deflate. Here is a video that demonstrates how whip egg whites correctly. 
  • DO NOT pour your sugar on your egg yolks if you aren't going to beat immediately. If the sugar  is left to sit on the yolks, they will scramble. 

Ingredients:

1/2 Cup Unsalted Butter (Cubed)
6 oz. Chopped  Semisweet Chocolate OR 1 Cup Semi Sweet Chocolate Chips
3 Eggs (Separated)
1/3 Cup Granulated White Sugar
1 tsp. Pure Vanilla Extract
1/8 tsp Cream of Tartar OR Salt
1 tbsp Granulated White Sugar

Directions:
Begin by melting the chocolate and butter in a double boiler. I personally think it's a waste of money to buy one, so I use a steel or glass mixing bowl that fits inside a pot, where it will sit perfectly on the top and not touch the bottom. Fill the pot with about an inch of water, where it won't touch the bowl after you set it on the pot. Put the chocolate and the butter in the mixing bowl, without getting any water on them because the chocolate WILL seize. Turn on the heat, and allow the heat of the water boiling underneath the bowl to melt your chocolate and butter. Mix it occasionally until it is all melted and incorporated. You do not want to heat the chocolate, just melt it. After the chocolate is melted, take the bowl out of the pot and set it aside to allow the chocolate to come to room temperature so it wont scramble your eggs when you add it to the rest of your mixture.
As the chocolate cools, beat the egg yolks with the 1/3 cup of sugar. Beat until the mixture is pale, and when you lift the beaters it should fall back down in a nice ribbon. Beat in the vanilla. With the mixer on low, add the melted chocolate/butter mixture. Mix just to incorporate. 
In a clean, DRY, COLD bowl pour the egg whites and beat with a whisk attachment on medium speed. Beat until frothy. Add the Cream of Tartar OR Salt and keep beating on medium speed until soft peaks form. After the soft peaks form, slowly and gradually add the 1 tbsp of sugar while the mixer is still on medium speed. Keep whipping the egg whites until stiff peaks form. When you take out the whisk and flip it ride side up, the peak of whipped eggs should stay stiff and pointing up. If it falls, then stiff peaks have not formed yet. DO NOT over beat the whites. If you do so, they will deflate and liquify again. 
Take a small amount of the whipped egg whites and mix it into the yolk/chocolate mixture. This should lighten the mixture enough to allow you to fold in the rest of the whipped whites easily. Now, slowly fold in half of the remaining whipped whites. Gently fold them in so you incorporate them without deflating them. Fold in the rest of the whites and then evenly pour the mixture into four buttered and floured ramekins. Place on a cookie sheet and place them on the center rack in the oven. Bake for EXACTLY 11 minutes. If you bake them longer, they will cook all the way through, and then they will no longer be lava cakes. Remove the cookie sheet from the oven and serve. You do not flip them out! Be careful as they will be hot. Serve 'em with some cream, some ice cream or just plain on their own: my personal favorite.

*NOTE: You can make these ahead of time and just cover them and place them in the fridge. When ready to bake, just preheat the oven and bake for 14 minutes.

ENJOY!