Mini Fruit Tartlets

 Assemble the tartlets by placing 3/4 of a tsp of custard into each one. You can know arrange the fruit any way you want. Originally, I wanted to put some of each of the fruits, but I didn't realize how small these tartlets are. In the end I just toppled each tartlet with a different fruit. For the glaze I mixed a tsp of apricot jam with a tsp of water and microwaved it for 15 seconds. I used a pastry brush to glaze each tartlet. After that I just threw them in the fridge. You can store them in a closed Tupperware for up to three days, but I don't think they'll even last that long. Mine disappeared within the hour. I'm sure yours will as well. Enjoy these little shells of goodness!
Oven Temperature: 400 Degrees
Prep. Time: 1 Hour
Cook Time: 10 Minutes
Total: 1 Hour 10 Minutes

We have a family friend that brings a fruit tart each time she comes over. The presentation of it is just stunning, but I have never been fond of the tart itself because of the fact that it has custard. I never actually tried it, I just assumed it was gross. Boy was I wrong! One night we were invited to my uncles for dinner, and my monstrous siblings had devoured all the french silk pie. You all know I have an insane sweet tooth, so I was kinda forced to eat the fruit tart. It was either that or no dessert for me. I ate every last bite of it, each bite testing better and better. I was inspired. I knew I had to replicate this myself; of course it had to taste better and it had to be in the mini form, because anything miniature is just better. So I did. The finished tartlets: Phenomenal.Cook Time: 10 Minutes
Total: 1 Hour 10 Minutes
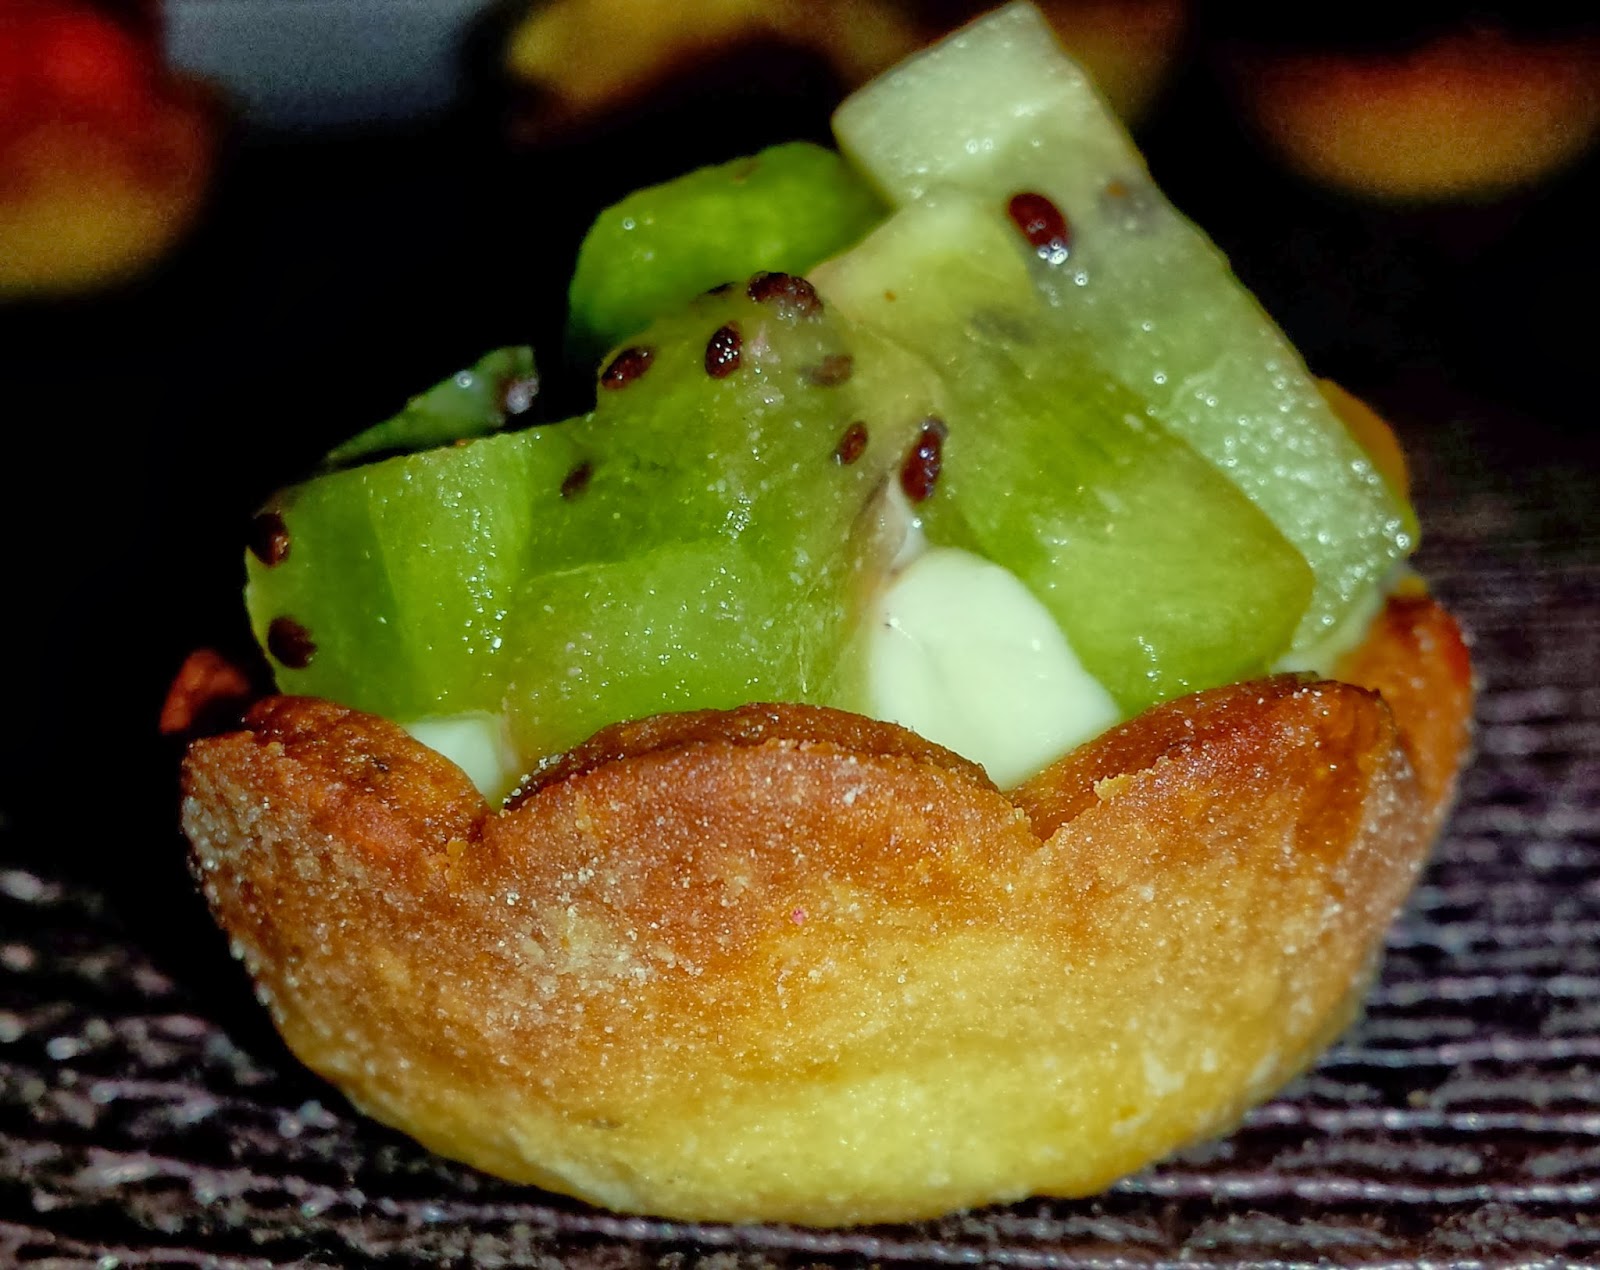
The crust has a cute little rim I achieved with a flower cookie cutter. The crust itself is flaky with the perfect crisp to it. The ground pistachio adds a bit of color and a nutty undertone. The custard is creamy and rich. You get the slight hint of vanilla and the citrus from the orange zest. It all balances so well. The fruit itself is great and the apricot glaze not only adds a shine, but also a hint of sweetness. These bite size tartlets are perfect, because you get everything at once. The custard to crust ratio is perfect and the glazed fruit adds a subtle freshness to this surprisingly light dessert. The textures balance each other so well. You get the flakiness of the crust, the crunch of the pistachio, the creaminess of the custard, and the bite of the fruit. These are definitely worth the time. Although they disappear quickly, their flavor never leaves your mind. You will be hooked. I am.
Ingredients:
Tart Shells
1 1/3 Cups All Purpose Flour
1/4 Cup Finely Ground Pistachios
1/4 Cup Sugar
1 Stick Butter (Chilled)
1 Egg
Pinch of Salt
For Baking
PIE WEIGHTS or BEANS
Foil
Orange Vanilla Infused Custard
1 Cup Milk
2 Egg Yolks
3 tbsp Sugar
1 1/2 tbsp Cornstarch
Zest of half an orange
1/2 tbsp Vanilla Extract
1/2 tbsp Butter
Pinch of Salt
Fruit Topping
3 Strawberries (Diced)
1 Kiwi (Diced)
20 Blackberries (Split in Half)
3 Slices of Pineapple (Diced)
Glaze
1 tsp Apricot Jam (Or any other light jam)
1 tsp water
Directions:
Begin by making the crust as it needs to chill before you can roll it out. In a food processor, place the ground pistachio, flour, salt, and sugar. Pulse to mix together. With the food processor running, add the butter in cubes from the top of the food processor. Allow it to mix until you get fine grains. Now, take off the lid and crack the egg. Put the lid back on and run the food processor until it all combines and you have large crumbs. Dump the crumbs on a clean counter and smash them all together to achieve a ball of dough. Wrap in plastic wrap and place in the fridge.
Next, you make the custard. Pour the milk into a small saucepan and heat on low heat till boils. As the milk heats grab another bowl and crack the eggs. Separate the yolks and throw them in bowl. You don't need the whites. Either discard or save for another use. To the yolks, add the sugar, cornstarch, orange zest, vanilla extract, and salt. Whisk well until you have a smooth mixture. The milk should be boiling by now. Slowly temper the yolks by adding a small spoon of hot milk while whisking the eggs vigorously. With one hand whisk vigorously, and with the other pour small amounts of the milk. This will keep your yolks from scrambling. After this is all incorporated pour it all into the saucepan and whisk continuously until the custard thickens. Remove from heat and pour into a clean bowl. Whisk in the butter until it melts into the hot custard. This will put your custard over the top! After all, a little butter makes anything better!
Leave the whisk in the bowl. You need to put the bowl in an ice bath till it cools completely. Mix every once in a while to keep a layer from forming on top of the custard.
Leave the whisk in the bowl. You need to put the bowl in an ice bath till it cools completely. Mix every once in a while to keep a layer from forming on top of the custard.
Now you need to make your tartlets. I used two mini muffin pans. Preheat your oven to 400 degrees and clear a table or counter for the rolling. Dust it with a bunch of flour. Split the dough in two and pat into a circle. Turn over the dough to dust both sides with a generous amount of flour. Believe me, this will keep your dough from breaking and sticking. Roll the dough to a 1/4 inch thickness flipping it every once in a while so it doesn't stick. You can cut them into circles with a cup pr biscuit cutter, but I used a flower cookie cutter because of the crimped edges it gave the tartlets. Spray the pan and place the crust into the tins pressing gently to you have a little cup. Continue doing this until you finish the dough. I ended up with 40 tartlets. You need to place pie weights or beans in the tartlets so the middle doesn't inflate in the oven. I cut little pieces of foil and put 4 beans in each placing them in the center of each tart. If you have kids, this a great little fun way they can help out. Bake the tartlets for about 8 minutes, or until you see the top edges start to become a golden brown. Remove them from the oven and take the foil bowls out immediately so they don't stick to the inside of the tart shell. Remove the tartlets with a spoon and place them on a cooling rack.
As the tartlets cool dice all your fruit. You can use any fruit you have on hand, this is just the fruit that I had available the day I made these. Smaller fruits like blueberries probably won't need to be cut.
Assemble the tartlets by placing 3/4 of a tsp of custard into each one. You can know arrange the fruit any way you want. Originally, I wanted to put some of each of the fruits, but I didn't realize how small these tartlets are. In the end I just toppled each tartlet with a different fruit. For the glaze I mixed a tsp of apricot jam with a tsp of water and microwaved it for 15 seconds. I used a pastry brush to glaze each tartlet. After that I just threw them in the fridge. You can store them in a closed Tupperware for up to three days, but I don't think they'll even last that long. Mine disappeared within the hour. I'm sure yours will as well. Enjoy these little shells of goodness!

