Top food blogs

Translate

Showing posts with label Favorites. Show all posts

Wednesday, January 22, 2014

Oreo Truffles

Oreo Truffles
Prep Time: 30 Minutes
Total Time: 30 Minutes
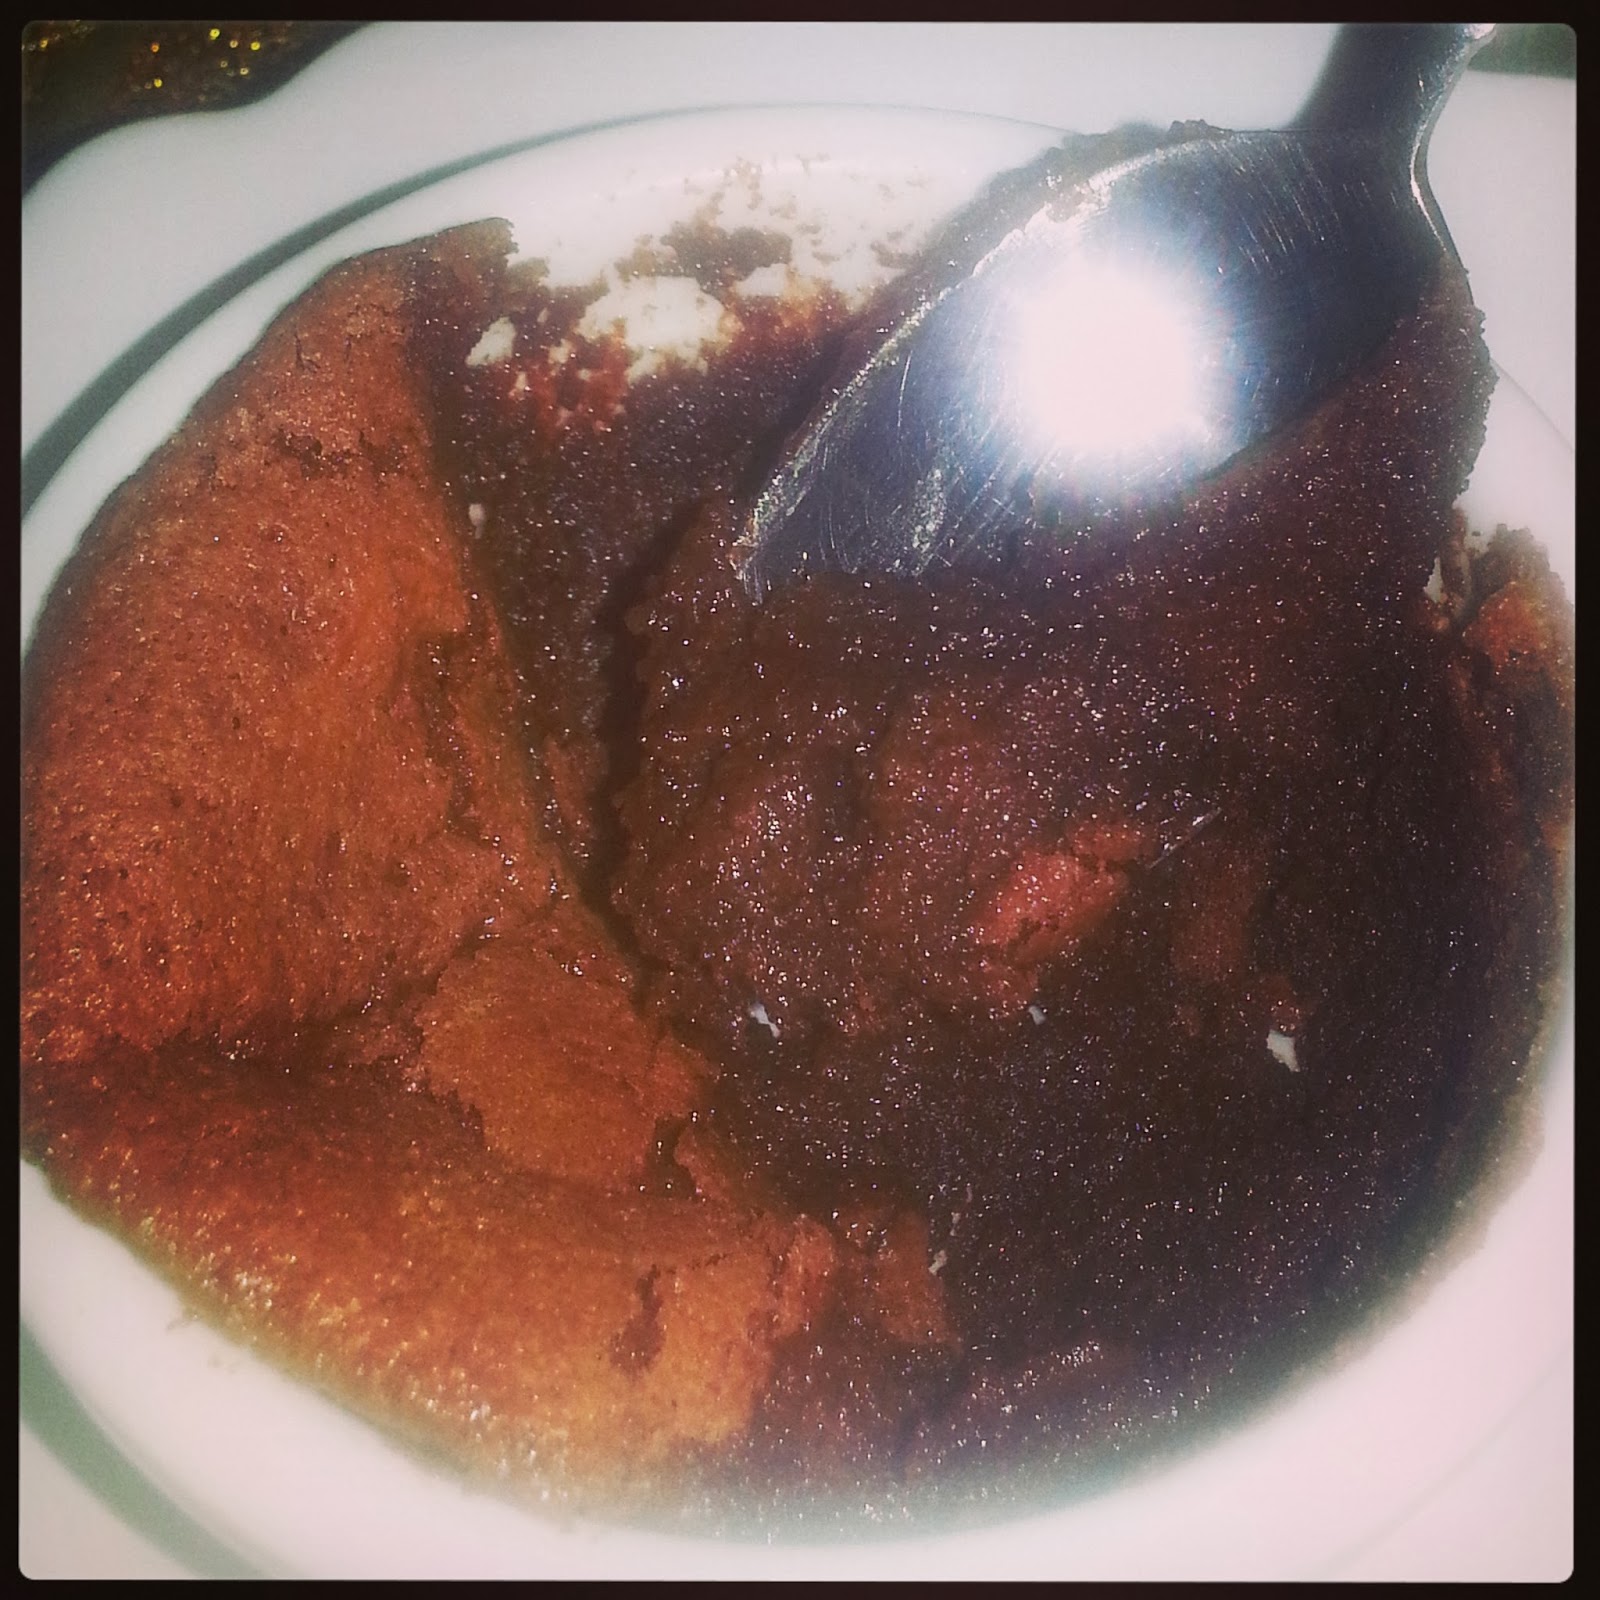
As you all already know, I have got an insane obsession with cookies. Anything in cookie form is just amazing taken to a whole new level. Of course, I have learned that I have to limit my sweet intake because it has gotten out of control lately. This means I no longer buy cookies. You see, I have no self discipline. If I buy a package of cookies, I will eat the whole package. Now, I don't mean that I'll eventually eat the whole package; I mean that if you give me a package of cookies, I am completely willing to destroy the whole thing in a matter of minutes. No joke. The joy I get as I devour cookies . . . You can only imagine my excitement when I realized that we had a whole sale package of Oreos sitting at the top of the pantry. They were just calling my name. I got the brilliant idea of making truffles. I have a few friends that make these amazing little mashed up Oreo and cheese balls that they call truffle. OH MY GOD are they amazing. If I ever go into diabetic shock, blame them. Now, I never actually expected them to be easy to make so I tried them. The first time I made them I used lollipop sticks and made them cake pop style. I also used white candy coating. They were a mess. I put way to much cream cheese (The Paula Deen in me) and they just wouldn't hold together. When I dipped them, they fell of the stick and I ended up with this goopey mess. Don't get me wrong, they were amazing flavor wise, but not so much presentation wise. In fact, they were just ugly. They looked like those Pintrest gone wrong pictures. I left them alone for awhile, and a few days a go I decided to give it another shot. I weighed the cream cheese and pulverized the life out of the Oreos. I made sure to freeze them for a little so the dough was easier to work with and I just used plain old chocolate chips for the coating. The results: ToDieForAmazingLittleBundlesOfJoy. They were just a pure work of art. You take a bite and the thin chocolate coating has a nice little bite to it. You get the perfect balance between the milk chocolate and the thin dark chocolate drizzle. Then, you taste the inside. The Oreo is just a perfect almost creamy consistency. Its rich, its creamy, and a beautiful balance. One is never enough. You will eat all of them. You will get sick of them, but you will still get up and make more when you see the Tupperware in the fridge quickly emptying out. Take a little extra time and make 'em pretty. Pack 'em up and take 'em as a gift. A marriage proposal is definitely something that will follow. These are to die for. I'm dead serious. No pun intended.

Ingredients:

17 oz Oreos (Usually a package, DON'T USE DOUBLE STUFF)
4 oz Cream Cheese (Decrease to 3 oz if using double stuff)
1 Cup Milk Chocolate Chips (or Use any chocolate you like)
1/4 Cup Dark Chocolate Chips (You can use any chocolate)
1 tbsp and 1 tsp Vegetable Shortening or Vegetable Oil

Directions:
Smash the life out of the Oreos. Personally, I don't like leaving any texture in them, so I throw them in the food processor until I get a fine sand. Dump them in with the cream cheese. To make it easier, soften it for 15 seconds in the microwave. Now, do not use a spoon for this step. Get your hands dirty. Mix the Oreos with the cream cheese until you have to no white spots of cheese visible. You want a cookie dough like texture.
Throw the bowl into the freezer for 15 minutes until the dough is little easier to work with. For this next step I find it easier to use a cutting board and knife.
Take the dough and roll it into rectangle or log like circle (makes perfect sense). Cut the dough in half. Then cut each half in half. You should have 4 pieces now. Cut each one in half and then each one of those in half again. You should end up with 16 truffles. Roll them into nice little balls and put them on tray lined with wax paper. Throw them in the freezer for like 15 minutes, until they are easier to dip in chocolate. Meanwhile, melt the chocolate with the veggie shortening until you have a thin consistency. Take the truffles out and roll them nicely as they will flatten a little on the tray. Dump each individual one into the chocolate and use a spoon to take it out and let the excess drip off. Put them on the tray and stick them in the freezer so the chocolate hardens. Melt the dark chocolate, put it in a Ziploc baggie, and snip a tiny corner off. Drizzle it on the truffles and place in the freezer till it hardens enough to take off the wax paper and put in individual mini muffin cups. Store in a closed Tupperware in the fridge for up to a week - if they last that long.

Tuesday, November 19, 2013

Green Bean Casserole . . . NOT French's®

From Scratch Green Bean Casserole
Oven Temperature: 350 Degrees
Prep. Time: 30 minutes
Cook Time: 30 minutes
Total: 1 hour
I love the holidays. I don't celebrate Thanksgiving or Christmas, but something about the holiday season makes me feel good inside. As you all know, I am muslim, so I celebrate Eid. However, that doesn't stop me from loving all the pretty decorations, the soothing music, and of course the extended mall hours. Oh, and those nifty decorations that sync with the radio! OMG. Anyways, I also love how Pinterest gets overwhelmed with holiday recipes. I love being able to read about people trying to cook a legit thanksgiving dinner, and how it usually ends up coming out of cans or ready made boxes. We used to have a thanksgiving dinner at a used-to-be-family-members every year. Of course, most of it was ready prepared food, but it's the thought that counts, right? Never mind that the canned cranberry sauce looked like jello gone wrong, or the fact that it tasted like fluoride. It was still a dinner, with family, and with lots of dessert. As you know, I love dessert. Enough with me talking about dinner, Let's get to the good stuff.
We have a family friend that invites us over for dinner every once in a while. She makes this amazing green bean casserole, and I can never get enough of it. So, one day I got up the courage and asked for the recipe. She smirked at me and laughed a little. I got curious. Then, she continues to tell me that it's the easiest recipe in the world. That it's on the back of every box of French's onions. What rock have I been living under?! So, one day she comes over with a bag full of groceries. I open the bag and the contents shocked me: 4 cans Green Beans, 1 can Cream of Mushroom Soup, and 1 box French's onions. I pulled out my casserole dish and got to work. You throw in the 4 cans of beans with the can of soup and some milk. Top it off with onions, and throw it in the oven. Couldn't be easier. I took it out of the oven, but for some reason I couldn't eat it. You see, I hate canned food. All of a sudden that beautiful casserole went from amazing, to look-a-like hospital food. I was disappointed. Extremely disappointed. So, from that day, my mission was to make it from scratch. From start to end, I would make all of it. And I did. 
This green bean casserole starts with a nice buttery roux. Its got onions. Its got garlic. Its got mushrooms, and its got milk. Then you add some nice green beans. They've been steamed a little, but have a crunch. They're beautifully green, not a musty rusty can green, the true color green. You throw it all in the oven, and then you top it with fresh fried crispy onion strings, and WOW. Oh. My. God. Your life will change forever. That easily amazing concoction you used to make will look like cafeteria food next to this. Never again will you go back. Never again will you share that recipe. And never again will you take that short cut. Because this is the real thing. It's the real taste, the real amazing kind of food you wished you knew about. Make it. You will never regret it. I promise. 

Ingredients:

20 oz. Frozen Green Beans or Fresh
Pot of Boiling Water (For Blanching)
Bowl of Ice Water (To keep the Beans Green)

Mushroom Sauce
8 oz. Mushrooms (Sliced)
1/2  large White Onion (Diced)
2 Garlic Cloves (Minced)
2 tbsp Butter
2 tbsp Flour
1 1/2 Cups Milk
4 oz. Cream Cheese (Cubed)
1 tbsp Fresh Parsley or 1/2 tbsp Dried Parsley
1/4 tsp Black Pepper
2 tsp Salt
1/2 tsp Worcestershire Sauce or Soy Sauce

Onion Strings
1 1/2 large White Onions
2 cups Buttermilk or 2 cups Milk with 2 tbsp Vinegar or Lemon Juice
2 cups Flour
1 tbsp Salt
1/4 tsp Black Pepper
1/4 tsp Cayenne Pepper
Oil (For Frying)

Directions:
Preheat oven to 350 degrees. Butter a 9x13 pan or 2-quart casserole dish. Start my blanching your green beans. Boil some water and drop the beans in there. Cook them for about 3-4 minutes, until they are cooked but still have a nice crunch. Take them out of the hot water and immediately put them in the ice water. This stops the cooking process and prevents your green beans from turning that gross rusty can brown color. 
Next, take a pan and throw 1 tbsp of the butter in there. Let it melt and then add the onions, garlic, and mushrooms. Cook on medium heat until your mushrooms smell great and your onions are a nice light golden brown. Now, add the rest of the butter and allow it to melt. Throw in the flour and stir your mixture constantly for 2 minutes. This is preparing the roux. It's whats gonna keep your sauce nice and thick.
Now, slowly add in the milk while you are still stirring. Keep stirring and cooking until you sauce is thick and bubbly and amazing. Add in the cream cheese and stir that fat in until it marries with everything else. Add in the parsley, pepper, salt, and sauce. Bring to a nice soft boil and turn off the heat. Now, take the green beans out of the water and dump them into this nice creamy sauce. You can cut the green beans in half if they are too long. Mix them in well and dump all this into your buttered dish. Put it in the oven and set a timer for 25 minutes.
While it's cooking, slice your onions thinly, and soak them in your buttermilk for 10 minutes. Mix the flour with the salt, black pepper, and cayenne pepper. While the oil is heating, strain the onions and throw them into the flour. Coat them all nicely and when the oil is nice and hot, fry them until they are a golden brown. Check on the casserole. You want it to be hot and bubbly. When it is, take it out of the oven and top it with the onions. Feel free to mix some in there, and then top it off with the rest. Serve while it's hot. Recall your last bite of canned casserole, because it will stay your last. Never again will you go back. Enjoy! I sure did!

Friday, November 15, 2013

Tiramisu Cupcakes

Tiramisu Cupcakes . . .
Oven Temperature: 325 Degrees
Prep. Time: 1 hour
Cook Time: 20 minutes
Total: 1 hour 20 minutes
Tiramisu is known as a classic and decadent dessert. You are bound to find some "Homemade" version of it at probably any Italian restaurant you go to. Being muslim, I cannot drink alcohol. Therefore, I have never actually gotten to taste tiramisu because it usually has some form of alcohol in it. Now, I know I could have made it myself, but I am the kind of person that likes to make everything from scratch. I didn't really make it if I bought the cookies, bought the coffee, and bought the cream. Right? So, I never made it, because I am weird like that. Now you can only imagine my excitement when I got a request for tiramisu cupcakes. This was coming from an addict, from someone that loved tiramisu, from someone that had tried it in all its forms, and from someone that I looked up to. This meant that they're opinion mattered to me. I had to perfect them, I just had to.
These cupcakes are just jawdroppingly beyond amazing. They are that  good. The cupcakes themselves are fluffy and dense in the weirdest way. They are amazingly moist and have like an almost crispy sweet edging. Combine that with espresso syrup that they are lovingly and delicately brushed with and you have this ridiculous coffee, sugary, cakey concoction. Then you have the frosting. That frosting. Oh. My. God. 
The mascarpone itself is a rich creamy cheese. Now, at $6.00 for 8 oz of it, my frosting had better taste damn good. The frosting is airy, rich, creamy, and slightly sweet. The first bite is different. You want to take another one. You take the second bite, and the frosting hits the crispy edges of the cupcake, the sweetness of the coffee, and the actual crumbs within the cake, and you are just in heaven. Literally. Enough said.
This recipe is pretty straightforward one. However, it is also one that requires extreme attention to detail. I am pretty OCD about details, so the recipe should be easy to follow, and you should get pretty decent results if you follow it word by word. This is definitely a recipe that I would not use substitutions in—unless I stated a specific substitution within the recipe. Enjoy!

Ingredients:

Cake
1 1/4 Cups Cake Flour (*See Substitute below)
3/4 tsp Baking Powder
1/2 tsp Salt
1/4 Cup Milk
1 tbsp Pure Vanilla Extract or 1 Vanilla Bean Split lengthwise (Scraped)
4 tbsp Unsalted Butter (Cubed and Softened)
3 Whole Eggs AND 3 Egg Yolks
1 Cup Granulated Sugar

Coffee Syrup
1/2 Cup Espresso or DARK Coffee (HOT)
1/4 Cup Granulated Sugar

Frosting
1 Cup Heavy Cream
8 oz Mascarpone Cheese
1/2 Cup Powdered Sugar (Sifted)

Decoration
Unsweetened Cocoa Powder for Dusting

*Substitutions
*For 1 1/4 Cups Cake Flour:
Measure 1 Cup Flour and REMOVE 2 tbsp Flour. Add 2 tbsp Cornstarch.
Measure 1/4 Cup Flour and REMOVE 1/2 tbsp Flour . Add 1/2 tbsp Cornstarch.

Directions:
Preheat your oven to 325 degrees. Line your muffin tins with paper liners. This recipe will make exactly 18 cupcakes. After you line the tins, spray the top, that way the cap of the cupcake doesn't stick when the rise during baking. 
Sift your cake flour, baking powder, and salt. Set aside. In a small pot, heat your milk, and vanilla extract (Or Scraping with the pods, you'll have to strain the mixture after though). Heat through, but DON'T boil. When bubbles form around the edges, remove from heat. If you used vanilla beans, remove the pod and strain. If not, skip this step. 
Now, you should set up a double boiler for the next part. Make sure the bowl is large enough to fit all the ingredients as they will expand. In the bowl you are going to use, whisk together the whole eggs, egg yolks, and the sugar. I used an electric mixer for this step. Now, place this bowl over the pot of water. Turn on the heat and allow the water to boil. Make sure to whisk this mixture continuously by hand for about 4-6 minutes. You want the sugar to dissolve and for the mixture to be warm. Remove the bowl from the heat. Now, using an electric mixer, whisk this on high speed until the mixture is thick, pale, and yellow. You want it to be able to hold a ribbon across the surface for a few seconds when the whisk is lifted. 
Next, you are going to fold in the sifted flour mixture. You want to fold it in three separate batches so your batter doesn't deflate. Now, take about a half cup of batter and mix it into the milk mixture in order to thicken the liquid for easy folding. Now fold the milk mixture into the rest of the batter. You just want to combine the ingredients. 
Next, evenly pour the batter into the cupcake tins. As I said before, you should get exactly 18 cupcakes. You want to rotate the pans halfway through baking for even baking. Bake until the edges are light golden brown, which is about 20 minutes. A toothpick should come out clean. Place the cupcake tins on wire racks until they are completely cool. You want to leave the cupcakes to cool completely before removing from the tins. 
To make the syrup, mix in the coffee and sugar and set aside to cool. 
When the cupcakes have cooled, brush the tops with syrup. I take a pastry brush and dip it in the syrup, brush the cupcake, and then repeat for each of the cupcakes. Then you repeat the process until you are out of syrup. This way they have time to absorb, and they are all evenly soaked. They may drip a little, but I assure you this amount of syrup is perfect if you follow these steps. Don't try to just put even tsp's because then they wont absorb it all and they will drip. If you do it like this, they will be perfectly moist. They may drip a little, but these cupcakes are so fluffy, that I guarantee you they will absorb all of it. 
While the cupcakes settle a little, make the frosting. You want to use this frosting immediately  so don't make it until you need it. In a small bowl whisk the whipping cream till stiff peaks form. Don't over whip or it will be grainy. In another bowl, whisk together your mascarpone cheese and powdered sugar until smooth. Now slowly and gently fold in the whipping cream into the mascarpone mixture. 
Using a sandwich or freezer bag, pipe the frosting onto the cupcakes. Don't dust with cocoa until before serving. If you are not serving till the next day, just wrap and place them in the refrigerator. Allow them to come to room temperature for about an hour before serving. Dust with cocoa powder. Enjoy! 

Tuesday, October 22, 2013

Molten Lava Cakes . . . YUM!

Molten Lava Cakes
Oven Temperature: 400 Degrees
Prep. Time: 15 minutes
Cook Time: 11-14 minutes
Total:  26-29 minutes
I cannot believe that I have yet to post a Lava Cake recipe. I am still shocked that I have not posted this amazingly easy recipe. Oh MY GOD! As you all know, I have a really bad chocolate addiction. This is the one cake that will completely satisfy that craving. A few years back, I went to Chili's. For dessert, I ordered a Molten Chocolate Cake. Little did I know that the minute I dug my spoon into this warm chocolate cake, it would pour out a river of warm chocolate gooeyness. That is the minute my life changed. I never knew that so many amazing flavors and textures could be held in this small little cake. My life had been corrupted forever. I NEEDED to know how to  make this cake. I just had to know. I spend days and days researching a molten cake recipe with consistently failed results. Either the whole cake would be too firm, or way too runny. Finally, I came across an amazing website with an AMAZING recipe. I was also able to watch a video with specific directions on how to make this cake. I made it once, and I was hooked. This is by far the best cake I have ever made. You will make it, and you will fall in love. Make it for someone you love, because I guarantee you a marriage proposal when you do. It's THAT GOOD!
This cake is brownie like on the outside. DId your spoon into this perfectly crispy exterior, and you will be greeted with a fluffy whipped mousse like chocolatey interior. It will be perfectly plump, amazingly light, and delectably rich in chocolate, with the absolute perfect amount of sweetness. Plop some whipped cream or Ice Cream on the top, and you have got a sinfully forbidden dessert. Try this cake. You will love it just as much as I do, if not more. Like I said, It's THAT GOOD.

Here are a few tips to making this cake:
  • When melting the chocolate, use a double boiler to prevent burning it.
  • Make sure that when you separate the egg yolks from the whites, to not get ANY yolk in the whites, or they will not whip correctly! Here is a great video on how to separate eggs. 
  • If you don't have Cream of Tartar, you can use a dash of salt instead. Don't go grocery shopping just to get it!
  • When beating the egg yolks with the sugar, I found that a paddle attachment works better, but you can use a whisk, however, ALWAY use a whisk to beat the egg whites.
  • Before beating the egg whites, make sure you bowl is CLEAN and VERY DRY. Also, put it in the freezer for a few minutes before using it. A warm bowl will NOT allow your whites to expand correctly. 
  • In order to allow your whites to expand correctly, beat them on medium speed till foamy, then add the Cream of Tartar or Salt. After that, beat them on medium speed till soft peaks form, and the add the sugar VERY slowly as beating, until Stiff peaks form. If you over beat the eggs, they will deflate. Here is a video that demonstrates how whip egg whites correctly. 
  • DO NOT pour your sugar on your egg yolks if you aren't going to beat immediately. If the sugar  is left to sit on the yolks, they will scramble. 

Ingredients:

1/2 Cup Unsalted Butter (Cubed)
6 oz. Chopped  Semisweet Chocolate OR 1 Cup Semi Sweet Chocolate Chips
3 Eggs (Separated)
1/3 Cup Granulated White Sugar
1 tsp. Pure Vanilla Extract
1/8 tsp Cream of Tartar OR Salt
1 tbsp Granulated White Sugar

Directions:
Begin by melting the chocolate and butter in a double boiler. I personally think it's a waste of money to buy one, so I use a steel or glass mixing bowl that fits inside a pot, where it will sit perfectly on the top and not touch the bottom. Fill the pot with about an inch of water, where it won't touch the bowl after you set it on the pot. Put the chocolate and the butter in the mixing bowl, without getting any water on them because the chocolate WILL seize. Turn on the heat, and allow the heat of the water boiling underneath the bowl to melt your chocolate and butter. Mix it occasionally until it is all melted and incorporated. You do not want to heat the chocolate, just melt it. After the chocolate is melted, take the bowl out of the pot and set it aside to allow the chocolate to come to room temperature so it wont scramble your eggs when you add it to the rest of your mixture.
As the chocolate cools, beat the egg yolks with the 1/3 cup of sugar. Beat until the mixture is pale, and when you lift the beaters it should fall back down in a nice ribbon. Beat in the vanilla. With the mixer on low, add the melted chocolate/butter mixture. Mix just to incorporate. 
In a clean, DRY, COLD bowl pour the egg whites and beat with a whisk attachment on medium speed. Beat until frothy. Add the Cream of Tartar OR Salt and keep beating on medium speed until soft peaks form. After the soft peaks form, slowly and gradually add the 1 tbsp of sugar while the mixer is still on medium speed. Keep whipping the egg whites until stiff peaks form. When you take out the whisk and flip it ride side up, the peak of whipped eggs should stay stiff and pointing up. If it falls, then stiff peaks have not formed yet. DO NOT over beat the whites. If you do so, they will deflate and liquify again. 
Take a small amount of the whipped egg whites and mix it into the yolk/chocolate mixture. This should lighten the mixture enough to allow you to fold in the rest of the whipped whites easily. Now, slowly fold in half of the remaining whipped whites. Gently fold them in so you incorporate them without deflating them. Fold in the rest of the whites and then evenly pour the mixture into four buttered and floured ramekins. Place on a cookie sheet and place them on the center rack in the oven. Bake for EXACTLY 11 minutes. If you bake them longer, they will cook all the way through, and then they will no longer be lava cakes. Remove the cookie sheet from the oven and serve. You do not flip them out! Be careful as they will be hot. Serve 'em with some cream, some ice cream or just plain on their own: my personal favorite.

*NOTE: You can make these ahead of time and just cover them and place them in the fridge. When ready to bake, just preheat the oven and bake for 14 minutes.

ENJOY!


Sunday, September 01, 2013

Cinnamon Swirl Crumb Coffee Cake

Cinnamon Crumb Coffee Cake

Oven Temperature: 350 Degrees
Prep. Time: 20 minutes
Cook Time: 55 minutes
Total: 1 hour 15 minutes
I love my coffee. When I was a kid I remember my dad making a pot of coffee and pouring a cup. He would drink a few sips of it hot and eventually get distracted reading the newspaper. His coffee would get cold, and he would ask me to dump it in the sink and pour him a fresh cup. I loved being trusted with the hot pot of coffee. It made me feel like a big girl. He would then give me a sip of his coffee and tell me, "Only one sip, or you'll be a shortie like your mother." Of course, at 5'9 my mother is not the short one. As the years passed by, I graduated from the tiny sips to tiny little cups of coffee. When I hit 5'8 in the 8th grade, my dad decided I could have whatever coffee I wanted. Of course, that is because I outgrew him in height and he absolutely hated it. You can say that I am probably addicted to coffee. I drink it black. The aroma of a good cup of coffee just makes you want to drink it black. Why should you take away from the delicately bold flavor by drowning it in creamers and various unspeakable amounts of sugar? Black is the way to go, I tell you. And of course, when you give me a cup of coffee, I will ask for a slice of coffee cake to go with it. After you give me a slice of coffee cake, I will remember there is a whole cake in the kitchen. I will find the cake. I will eat the cake. I will enjoy the cake.
The batter to this cake is a slightly thicker one. As it bakes, the cake becomes moist and slightly dense. A ribbon of cinnamon sugar swirls through the center of the cake, making it not only beautiful, but flavorful. The sharpness of the cinnamon and the sweetness of the sugar counteract perfectly to the lightly sweetened dense cake. Then you get to the crumb topping. Bits are crunchy and sweet, while other bits are soft and moist. You get the crisp of the cooked sugar, and the sharpness of the cinnamon. The butter just blends the flavors together and you have the perfect crumb topping. This cake is seriously to die for. If you don't drink coffee, you will begin to crave it with this amazingly cinammony dense cake. And, if you already love coffee, your coffee moments will be transformed from "ahhhhh" doses to "AHHHHHHHH, OH MY GODDDDDDD" doses. Make this cake. Eat this cake. You will appreciate having to read all this. It is definitely worth it. Enough said.

Ingredients:

Crumb Topping
1 Cup Flour
1 Cup Brown Sugar
2 tsp Ground Cinnamon
1/4 tsp Ground Nutmeg
3/4 Cup Cold Butter (Cubed)

Cinnamon Swirl
1/2 Cup Brown Sugar
1/2 tsp Ground Cinnamon
1/8 tsp Ground Nutmeg

Cake
2 Cups Flour
1 tsp Baking Powder
1 tsp Baking Soda
1/2 tsp Salt
1/2 Cup Butter (Softened)
1 Cup Sugar
2 Eggs
2 tsp Vanilla Extract
1 Cup Full Fat Sour Cream (DO NOT SUBSTITUTE WITH LOW FAT)

Directions:
Preheat the oven to 350 degrees, and butter and flour a tube pan.
Start by combining all of the crumb topping ingredients, except for the butter. Whisk the ingredients together so they are combined. Cut the butter into the crumb mixture as you would if this were a pastry. Use a fork, pastry cutter, or your hands. You are looking for a sand like texture where the butter is incorporated. You do not want chunks of butter. Set aside.
Now mix the cinnamon swirl by just mixing all the ingredients in a small bowl. Set aside.
For the cake, whisk the flour, baking powder, baking soda, and salt in a bowl. In another bowl cream the sugar and butter until pale and fluffy. Add the eggs, one at a time, making sure to mix well in between. Now, add the vanilla extract and mix until just incorporated. Add half of the flour mixture and mix until combined. Next add the sour cream and mix till combined. Add the remaining half of the flour mixture and mix enough to just combine all the ingredients well.
Pour half the batter into the buttered and floured tube pan. The batter will be thick so you may need to spread it with a spoon. Now, evenly sprinkle the cinnamon swirl all over the top of the batter. Pour the other half of the batter on top of the cinnamon swirl and spread evenly. Now, evenly pour the cinnamon crumb mixture on the top of the cake. Bake at 350 degrees for 50-55 minutes, or until a toothpick comes out clean. Cool the pan on a rack until completely cool. Take the cake out of the pan and place on a plate. Generously sprinkle powdered sugar all over the cake. Slice and enjoy. 

Monday, August 19, 2013

Icebox Lazy Cake

Lazy Cake, REALLY Lazy Cake 
Prep. Time: 5 Minutes
Freezing Time: 4-6 Hours
There are these cookies that my mom buys, ones called Maria cookies, and OH MY GOD are they good. They taste good dipped in tea. They taste good with coffee. They are mouthwateringly amazing sandwiching a s'more, so imagine how good they are broken up and smothered in creamy chocolate. Add a stick of butter to that, and you have got the perfect marriage I tell you! That is exactly what lazy cake is. As a kid, I went to private school, and they had fundraisers every other day. Of course, they got a lot of money, but did we ever get the grass playground we were promised? Absolutely not. We do have ugly knee scars, stitched heads, but till now no grass, and even more stupid fundraisers filled with fake tears of joy from the so called "supervisors" of the school. But, then again, there are the good memories. One of those memories is when they had an after school cooking club. Mothers would volunteer to make easy recipes with about 20 younger girls. We had no oven, only a microwave, so it all had to be quick and simple. The day my mom volunteered we made this lazy cake. And man is it lazy. I had a moment similar to that of the cream puffs moment. That moment was filled with desperate need to make this cake and devour it endlessly. Maybe it shouldn't even be called a cake. Technically it is a roll, but then again when it's sliced it resembles cake slices. Frozen, AMAZING cake slices. Of course, when I had an immensely needy chocolate craving the other day, I got up and made this lazy cake. It did have to freeze for a few hours, but until it did, I made do with licking the bowl next to a cup of black coffee. Boy, was it worth it!

Take a bite. You will get crunchy bits of cookies. They are gonna be swimming in a pool of frozen swirled creamy chocolate. It is rich enough to satisfy the chocolate craving, but not too rich where you can't eat more. The fattiness of the butter adds an amazing contrast to the cold frozen feel of the actual cake. The cookies are bland enough to compliment the sweet chocolate. The chocolate mixed with the creamy milk makes it ever so smooth and adds the perfect amount of depth to the light cookies. All together, it is the perfect bite. As perfect as it can possibly get.

Ingredients:

7 tbsp Butter (Melted)
1 14 oz. Can Sweetened Condensed Milk
3/4 Cup Unsweetened Cocoa
1 tbsp Corn Starch (Optional)
2 Packets Le Petit Beurre or similar cookies (200 g. each)

Directions:
Break the cookies into quarters and set aside in a large bowl. In a small bowl, whisk the butter, condensed milk, cocoa, and corn starch. Now, pour the mixture on the cookies and coat all the cookies evenly. Form two logs onto separate pieces of wax paper or greased foil.  Wrap well and freeze for 4-6 hours. Slice and enjoy!